As the power of high-energy laser (HEL) systems increases for use in directed energy (DE), laser machining, research, and other applications, the optics and optical coatings within those systems need to be designed to withstand hundreds of kW/cm2. Optics in high-energy laser systems can be susceptible to manufacturing defects or foreign object debris (FOD). And, when exposed to high irradiances, these defects can reduce optical performance and potentially cause damage or catastrophic failure to not only the optic but the entire HEL system.
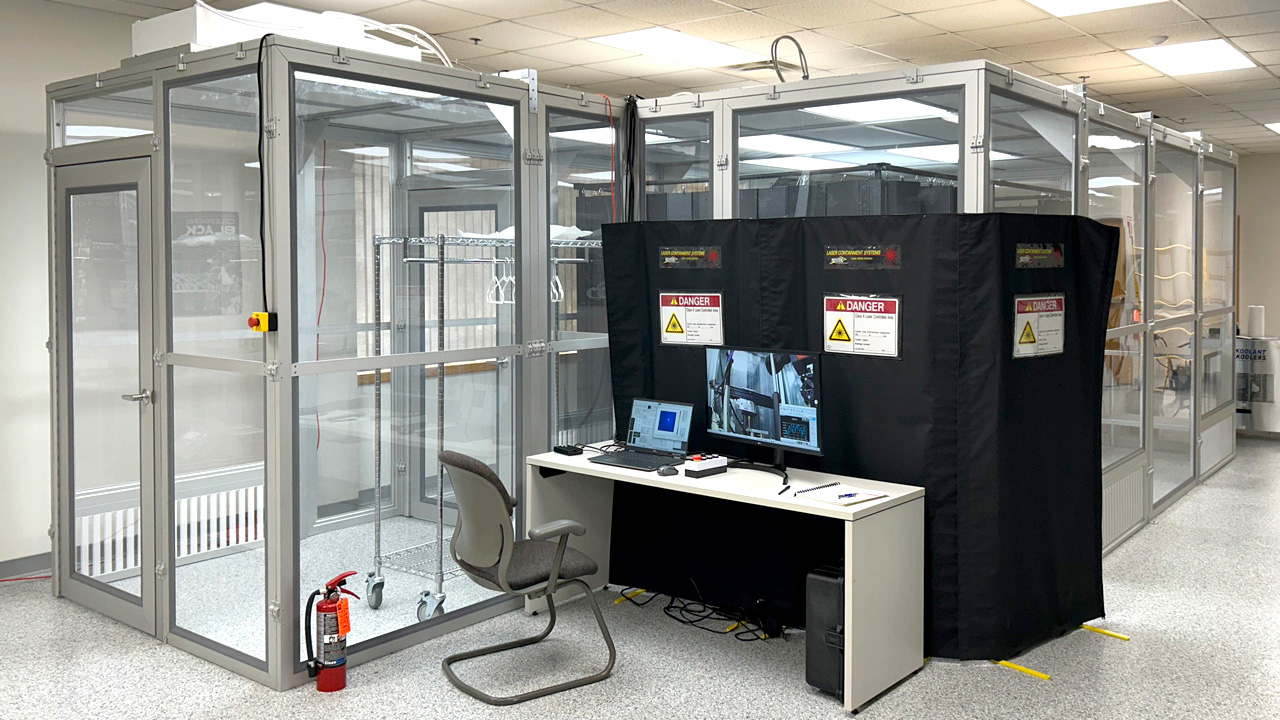
AmeriCOM’s ODIS system is housed within a cleanroom at the COM-Lab.
Traditional techniques aren’t enough
Optical inspection techniques such as visual inspection may miss defects and do not necessarily correlate to a reduction in laser-induced damage threshold. Traditional laser-induced damage testing (LIDT) is based on sampling a certain number of sites on the optic instead of the entire aperture which could lead to LIDT certified optics with undetected defects that fail in use.
LIDT also requires damaging the optic under test and is impractical for production purposes due to the long lead time to receive test results from an independent laboratory.
Partnering on a more precise solution
Recognizing the need for a HEL optics inspection tool for mitigating the risk associated with FOD and undetected manufacturing defects, Army Rapid Capabilities and Critical Technology Office (RCCTO) funded a project with Optimax to design and build a prototype HEL Optic Defect Inspection System (ODIS). AmeriCOM has built a second ODIS prototype which now resides at the AmeriCOM COM-Lab in Fairport, New York. AmeriCOM has been working Optimax to validate the test stand against the original prototype. AmeriCOM is also working with Army RCCTO Directed Energy Manufacturing Industrial Base (DE MIB) team to utilize the DPOC for continued improvements to the test stand, and to develop consensus on pass fail standards for future optics in HEL weapons. This asset is also available for use by Defense Precision Optics Consortium (DPOC) members for data collection as a service.
The entire system is located within a clean room and surrounded by interlocked metal laser safety curtains. Measurements are performed on a vibration isolated optical table with soft-wall enclosures and an additional HEPA filter located above the test surface. This cleanroom within a cleanroom design minimizes potential foreign object debris contamination during testing.
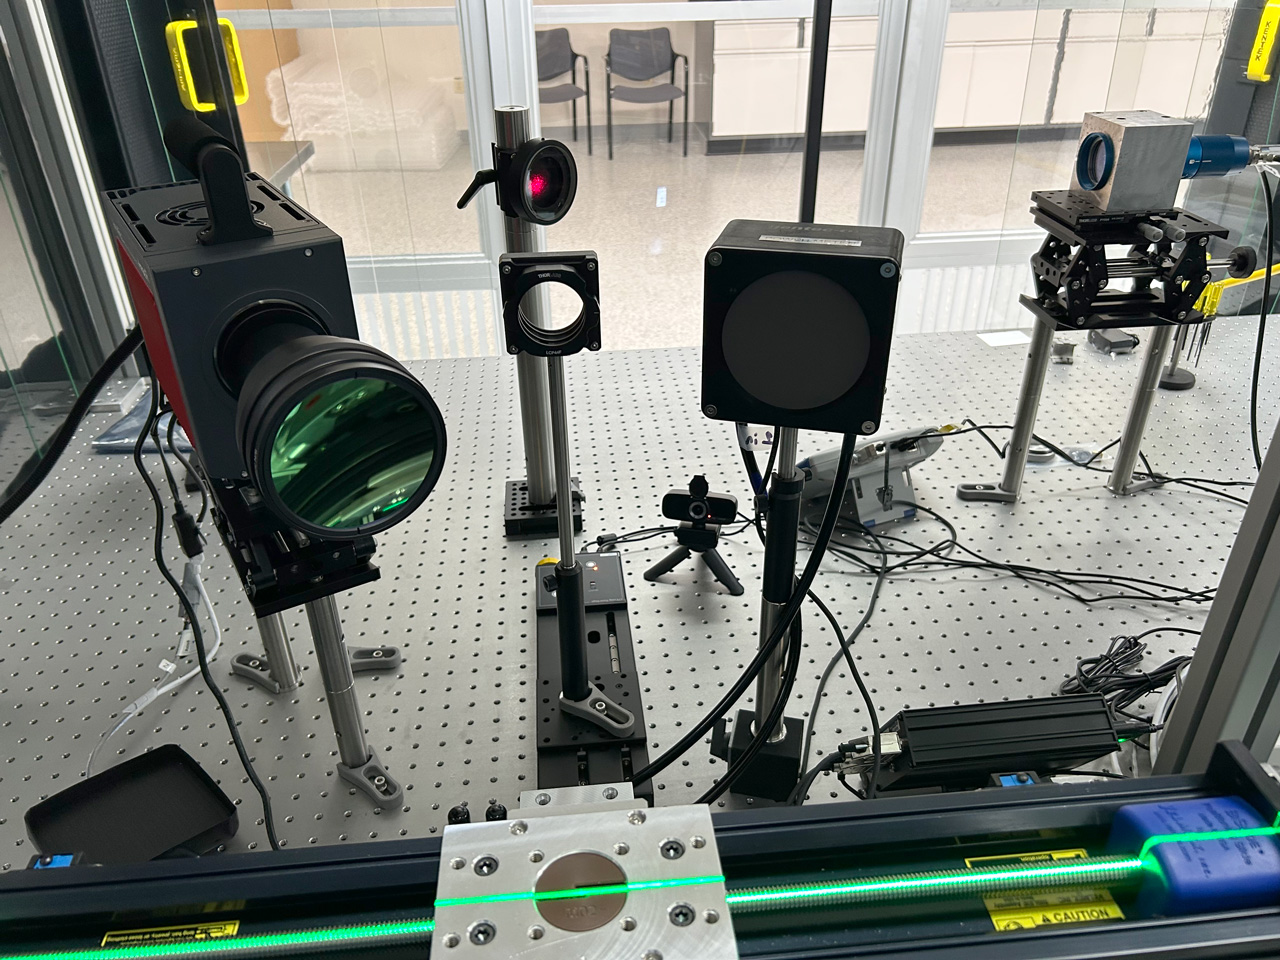
Optical layout of ODIS. The high-power laser passes through beam shaping and focusing optics (center) while a MWIR camera (left) records surface temperature. A green laser line aids in aligning the optic under test.
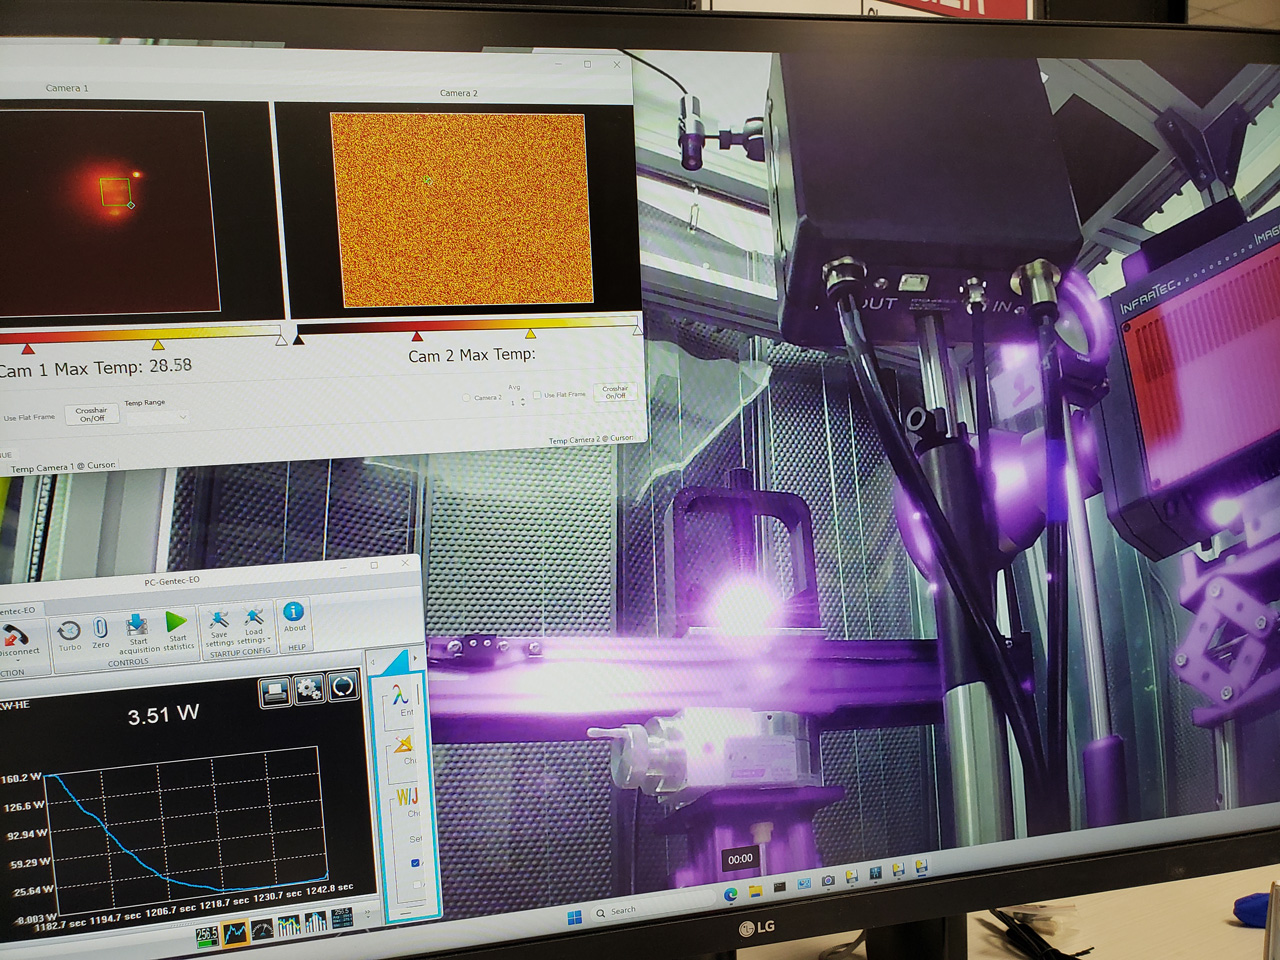
A high-power laser scan in progress as viewed on the control station monitor.
How it works
ODIS is designed to non-destructively scan the entire surface of a HEL optic up to 300 mm in diameter with a CW NIR laser in 4 hours or less to keep up with manufacturing production rates. A high resolution MWIR camera detects hot spots or local heating caused by defects which could lead to laser damage. Scan rate, scan pattern, laser power, region of interest, angle of incidence, and many other parameters are adjustable to best match operationally relevant test conditions.
The system uses multiple test procedures to evaluate observed hot spots and determine correlation to evidence- backed pass/fail criteria. Much of the test process is compatible with the newly updated ISO 21254-1:2025 functional raster scan test standard.
A unique capability
The combination of ODIS and the other COM-Lab equipment enables capabilities that are not found at other laser damage measurement labs. AmeriCOM’s visible and infrared ellipsometers can spectrally characterize thin film coatings from 0.3 µm – 40 µm wavelengths and can measure index of refraction, extinction coefficients and reflectivity among other properties.
COM-Lab’s software suite includes finite element multi-physics simulation modeling including packages for thermal and electro-optic wave modeling. These tools combined with ODIS enable not only laser damage measurements but also allow for studies of root cause analysis of failures, damage mechanism studies, characterization of optical and material properties, quality control validation, and vulnerability assessment.
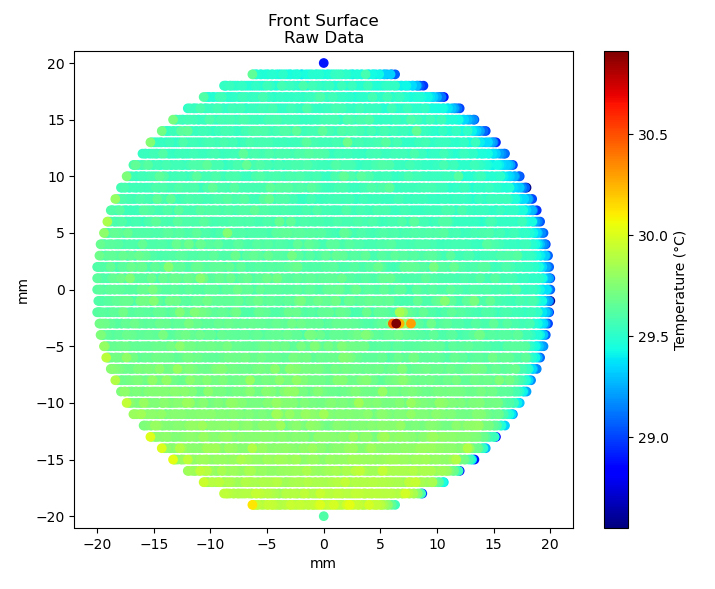
ODIS detects a defect on a high-energy laser mirror that was invisible to the naked eye.
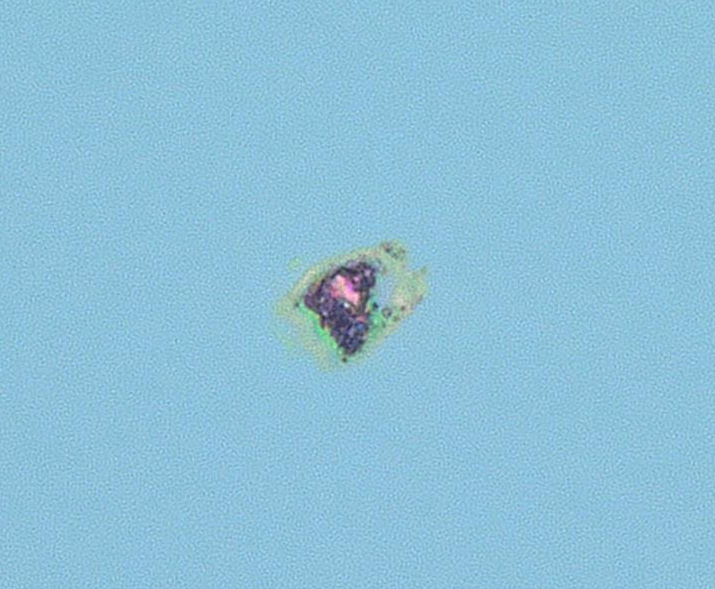
Damage to an optical coating caused by a high-energy laser incident on a fingerprint.
Leading the industry
As a 501(c)(3) not-for-profit organization, AmeriCOM serves as a neutral partner to HEL optics manufacturers. In collaboration with its government partners – including RCCTO, SMDC, Navy ManTech, and ICAM/IBAS – AmeriCOM’s ultimate goal is for ODIS to serve as a standardized pass/fail criterion across industry and as an asset to be utilized by our DPOC members for testing, research, and training purposes.
Multiple advantages for your business
As a manufacturing tool, ODIS provides data backed certification for laser damage performance at a rate that can keep up with production needs. ODIS can be used by manufacturers or integrators to ensure handling integrity and cleanliness through chain of custody.
As a research tool, ODIS can be used for root cause failure analysis, process development, product lifetime and fatigue analysis, or vulnerability assessment.
As a training tool, ODIS can be used to develop, test, and train best practices in handling and cleaning high performance optics. AmeriCOM is committed to continually improving ODIS and is well-positioned to serve as a provider of testing as a service, research and development services, and as a provider of procurement, installation, and training services.
Find out more
Reach out to Justin Sigley jsigley@americom.org for more information and how you can reserve time on ODIS.